ProofreaderPro.ai

User Guide

GETTING STARTED

Creating a new account

  1. Visit ProofreaderPro.ai.
  2. Click the Sign up button in the top-right corner.
  3. Enter your first name, last name, and email, then click Create your account.
  4. Alternatively, select Continue with Google to sign up using your Google account.

Logging in to your account

  1. Visit ProofreaderPro.ai.
  2. Click the Sign in button in the top-right corner.
  3. Enter your email and click Continue.
  4. Check your email for a login code, enter it, and click Continue.
  5. Alternatively, select Continue with Google to log in using your Google account.

DOCUMENTS

Creating a new document

From the My Documents page

  1. Open the main menu in the top-right corner of the app.
  2. Click on My Documents.

ProofreaderPro.ai main menu - My Documents option

  1. Click the New button to create a new document.

My Documents page - New document button

  1. You will be redirected to the newly created document.

Newly created empty document in ProofreaderPro.ai

From an existing document

  1. Click on the hamburger menu (three horizontal lines) on the left-hand side.

Hamburger menu for document navigation

  1. Select the New button to create a new document.

Tense conversion options - Past, Present, Future

  1. You will immediately be redirected to the newly created document.

Newly created empty document in ProofreaderPro.ai

Uploading a document

From the My Documents page

  1. Open the main menu in the top-right corner of the app.
  2. Click on My Documents.

ProofreaderPro.ai main menu - My Documents option

  1. Click the Upload button to upload your document.

Save document button in toolbar

  1. Browse your computer to select the document you want to upload (.PDF, .DOCX, or .TXT formats only) and click the Upload button. Note that only the text content of the document will be uploaded.

Tense conversion applied to academic text

  1. Once uploaded, you will be redirected to the uploaded document.

Newly created empty document in ProofreaderPro.ai

From an existing document

  1. Click on the hamburger menu (three horizontal lines) on the left-hand side.

Hamburger menu for document navigation

  1. Select the Upload button to upload your document.

Apply proofreading button in toolbar

  1. Browse your computer to choose the document.

Tense conversion applied to academic text

  1. You will immediately be redirected to the uploaded document.

Newly created empty document in ProofreaderPro.ai

Renaming a document

  1. Click on the document name on the top-left corner of the screen.

Proofread text with tracked changes highlighted

  1. Type in the new name for the document in the provided text box.
  2. Click the Save button to confirm the changes.

Document settings and preferences panel

Saving a document

  1. After editing a document, click on the Save button in the top right of the editor.

Paraphrasing applied to academic text

  1. The document will be saved in its current state, allowing you to come back and edit it later.

Viewing available documents

  1. Open the main menu in the top-right corner of the app.
  2. Click on My Documents to view a list of all the available documents.

ProofreaderPro.ai main menu - My Documents option

UK and US English format conversion toggle

  1. Alternatively, click on the hamburger menu (three horizontal lines) on the left-hand side to quickly view a list of the available documents.

Search and replace functionality

Document statistics - word count, character count, edit density

Deleting a document

  1. Open the main menu in the top-right corner of the app.
  2. Click on My Documents to view a list of all the available documents.

ProofreaderPro.ai main menu - My Documents option

  1. Click on the trash can icon next to the document you want to delete.

Individual tracked change with accept and reject options

  1. Click Delete on the confirmation popup to permanently remove the document.

Copy edited text to clipboard button


TEXT PROCESSING

Proofreading and Editing

  1. Paste or write your text in the text box. For higher-quality results, edit less than 600 words at a time.
  2. From the Proofreading and Editing Density Slider, select one of the following options: Light, Standard, or Comprehensive.
  3. Click Apply to begin the editing process.

Text processing options - Expand, Paraphrase, Summarize

  1. The text will be edited according to the selected density.
  2. After editing, review the edited text along with the tracked changes to see all the modifications made.

Citation formatting applied to references

Paraphrasing

  1. Paste or write your text in the text box. For higher-quality results, edit less than 600 words at a time.
  2. Click on the Paraphrase button under the Text Processing section.

Proofreading density options - Light, Standard, Comprehensive

  1. The selected text will be paraphrased automatically.
  2. After paraphrasing, review the edited text along with the tracked changes to see all the modifications made.

English format conversion applied to text

Summarization

  1. Click on the Summarize button under the Text Processing section.

Clear edits button to reset document

  1. The selected text will be summarized automatically and the word count will be decreased.
  2. After summarization, review the edited text along with the tracked changes to see all the modifications made.

Pasting text into the ProofreaderPro.ai editor

Text Expansion

  1. Click on the Expand button under the Text Processing section.

Text humanization button in toolbar

  1. The selected text will be expanded automatically and the word count will be increased.
  2. After text expansion, review the edited text along with the tracked changes to see all the modifications made.

Document title and text input area

Citations Adjustment

  1. Click on the desired citation format under the Citations section. You can choose from APA, Chicago, IEEE, MLA, or Turabian.

Text summarization result with tracked changes

  1. All in-text citations within the text will be converted to the selected citation format automatically.
  2. After citations adjustment, review the edited text along with the tracked changes to see all the modifications made.

ProofreaderPro.ai editor toolbar overview

Tense Conversion

  1. Click on the desired tense under the Tense Conversion section. You can choose between past, present, or future.

Document sidebar with new document option

  1. All tenses throughout the text will be adjusted automatically based on your selection.
  2. After tense conversion, review the edited text along with the tracked changes to see all the modifications made.

Feature comparison - Free vs Pro plan

English Format Conversion

  1. Click on the desired English format under the English Format section. You can choose between UK English and US English.

User account settings page

  1. The text will be converted automatically to the selected English format.
  2. After English format conversion, review the edited text along with the tracked changes to see all the modifications made.

Tracked changes - additions in green, deletions in red

Translation

  1. Click on the Translate to button under the Translation section.

Humanized academic text with changes tracked

  1. Select the desired language from the available options.

Subscription and billing information

  1. The text will be translated automatically into the selected language.
  2. After the translation, review the edited text along with the tracked changes to see all the modifications made.

Download document with tracked changes option

Tracked Changes

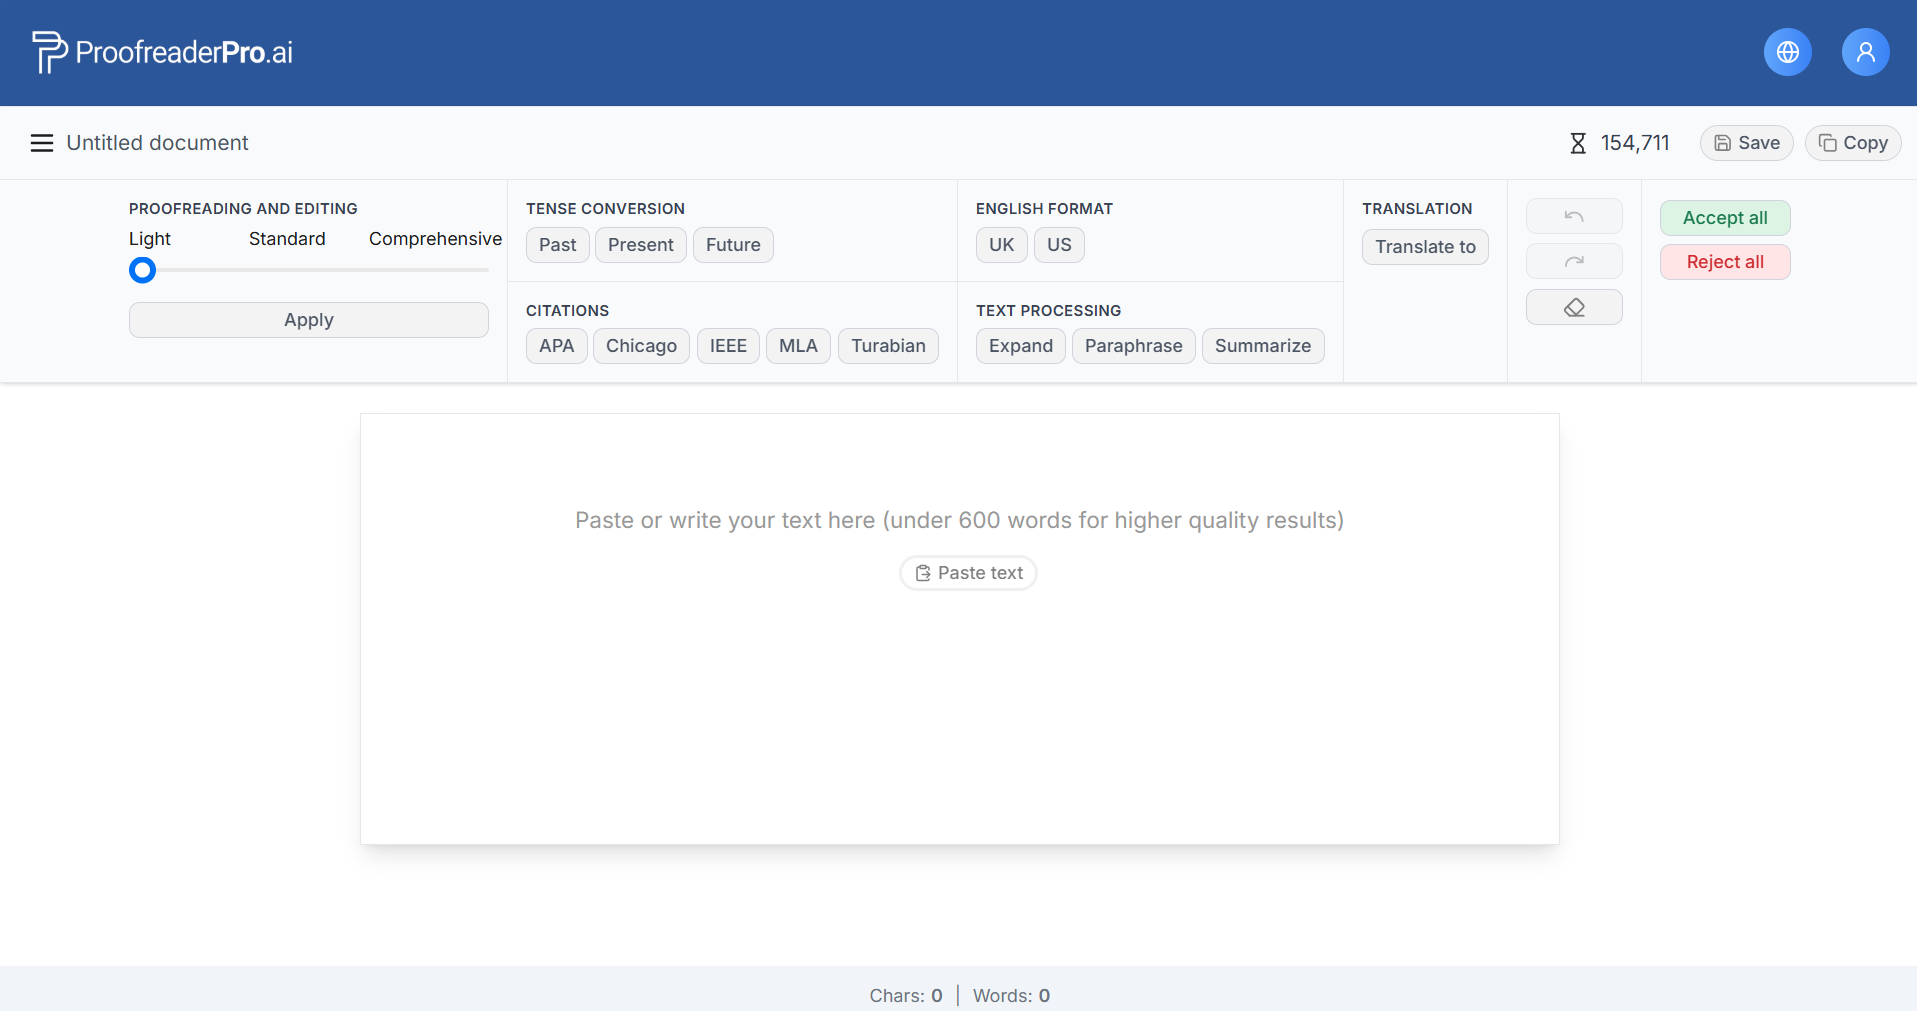
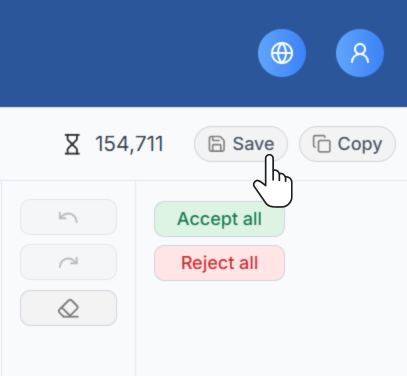
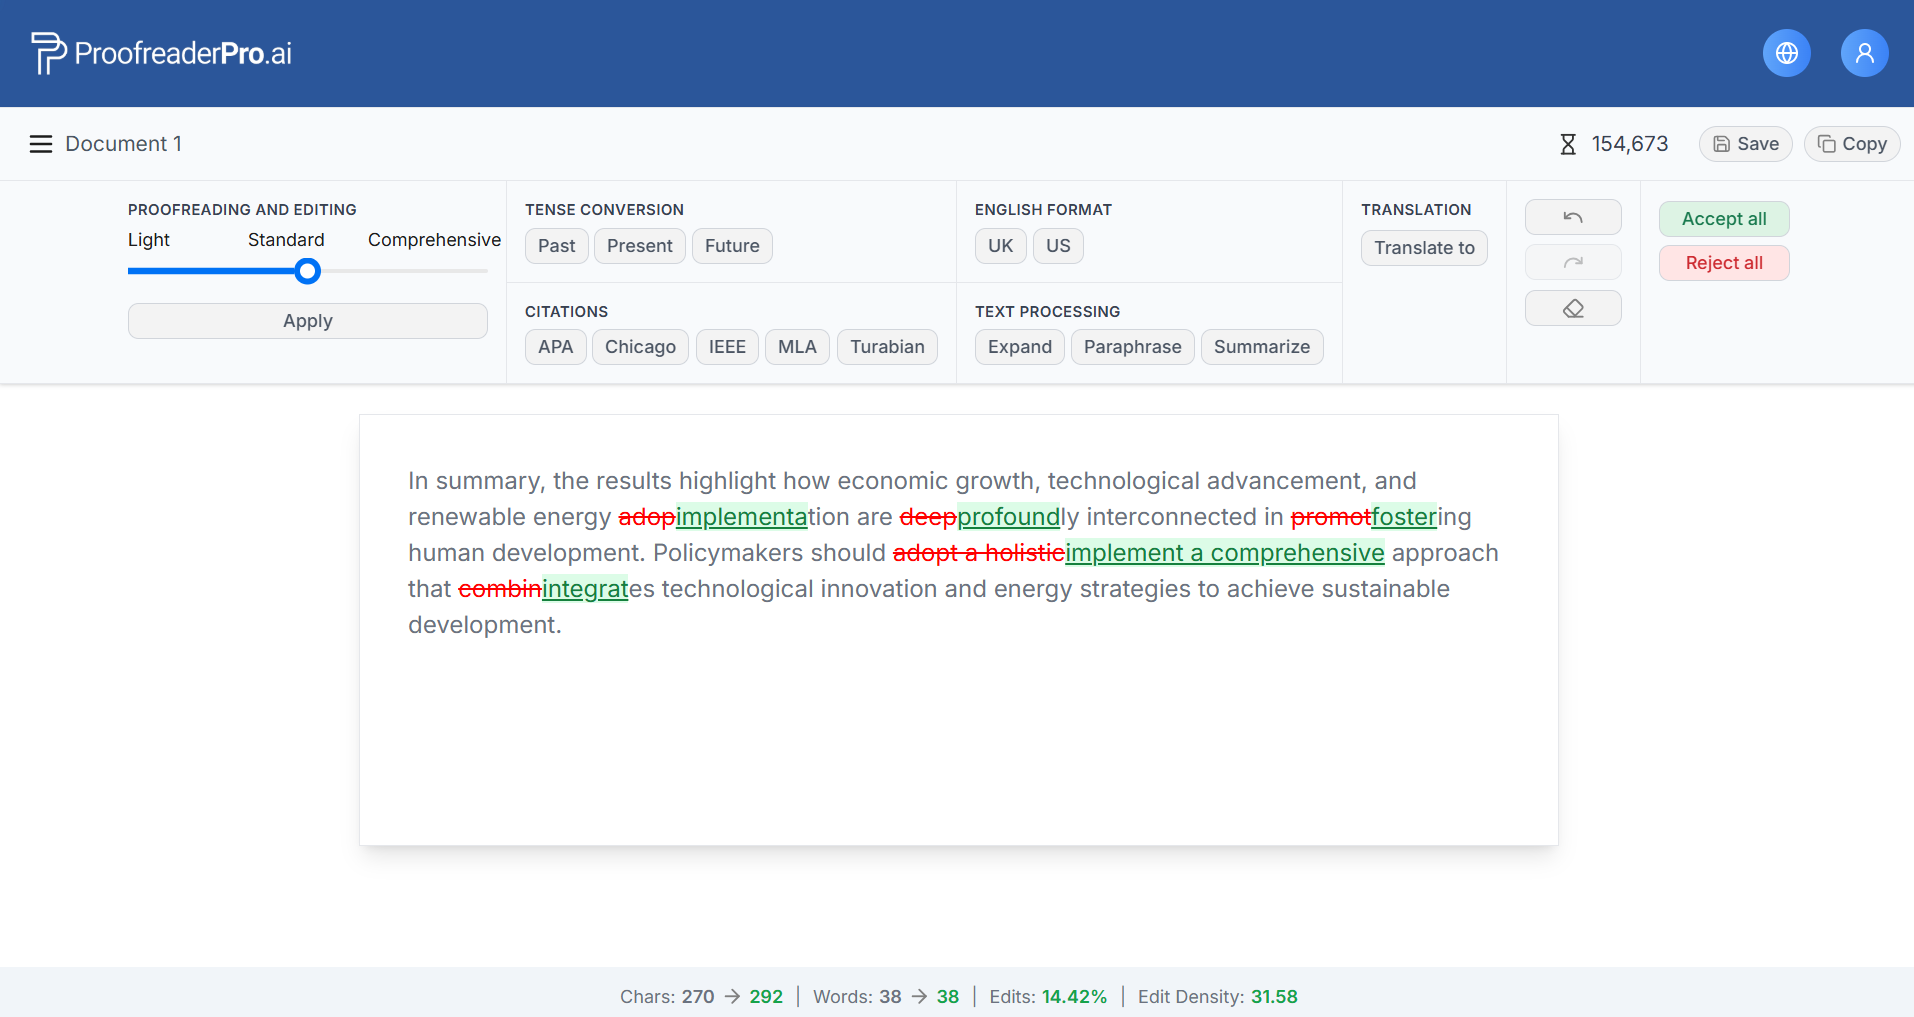
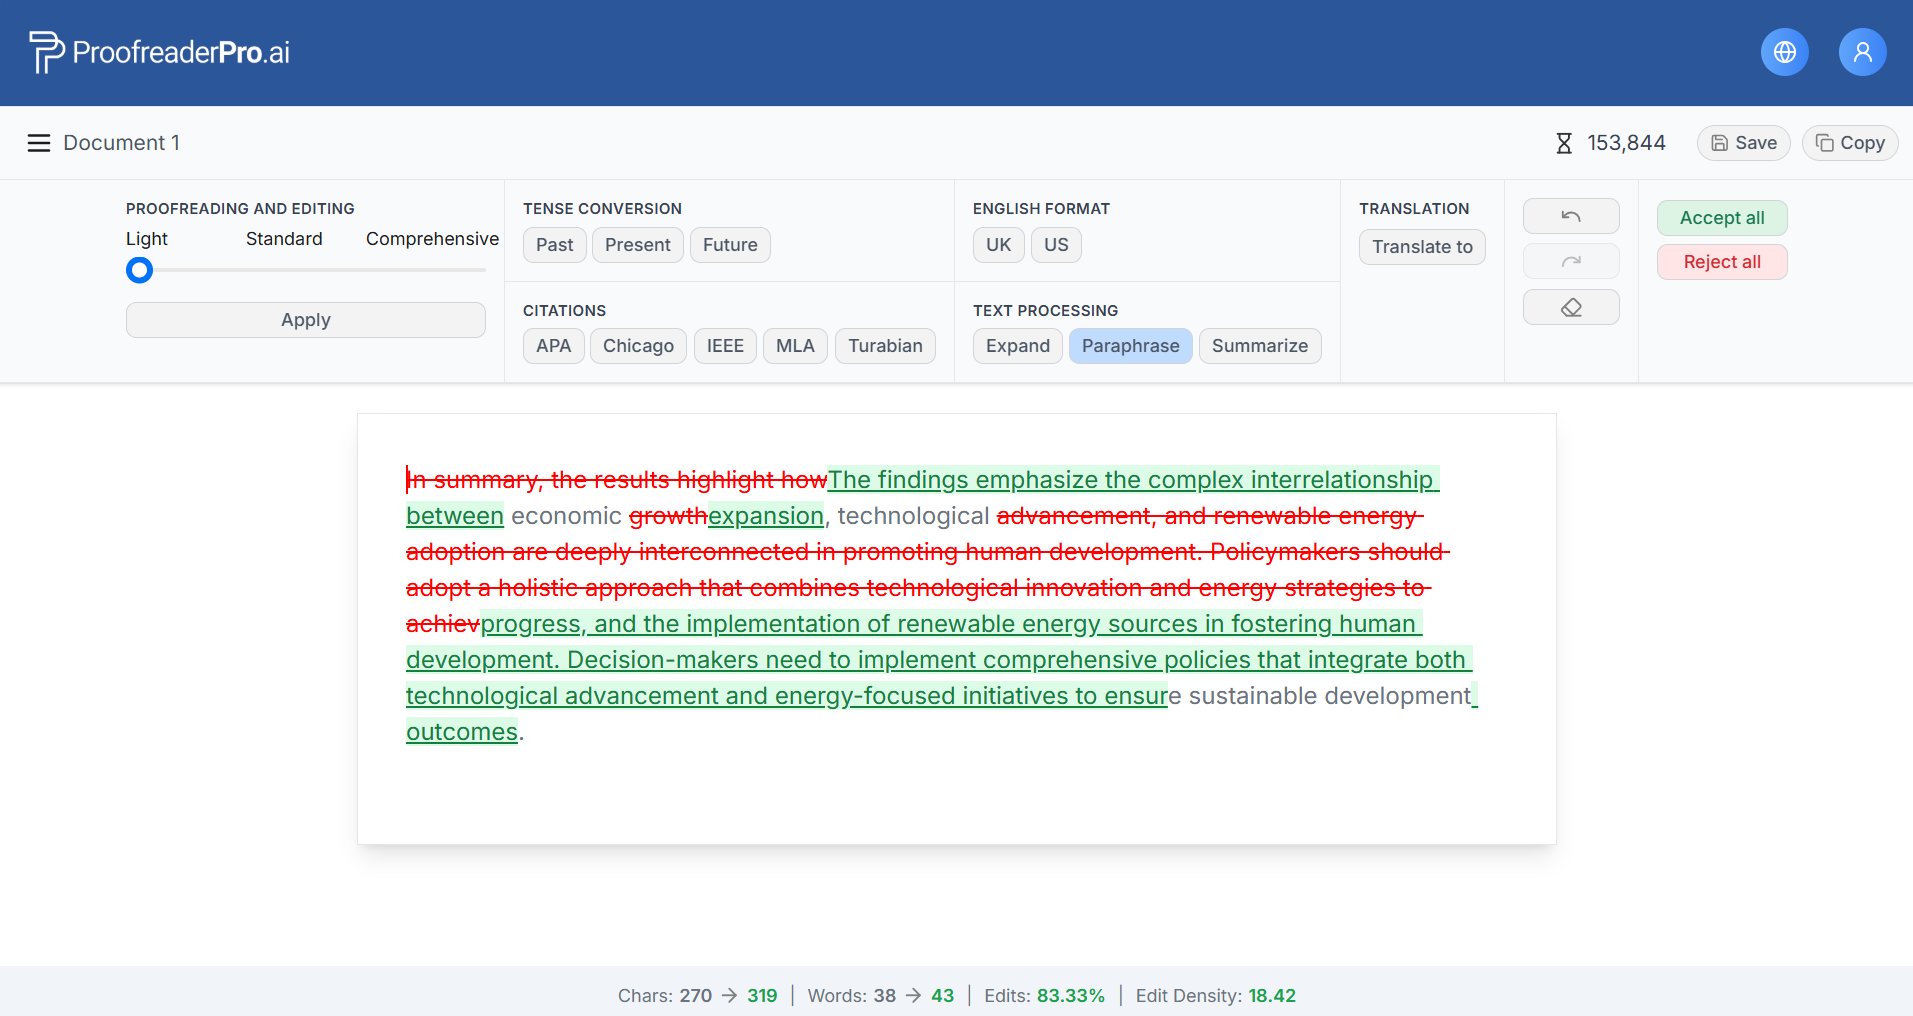
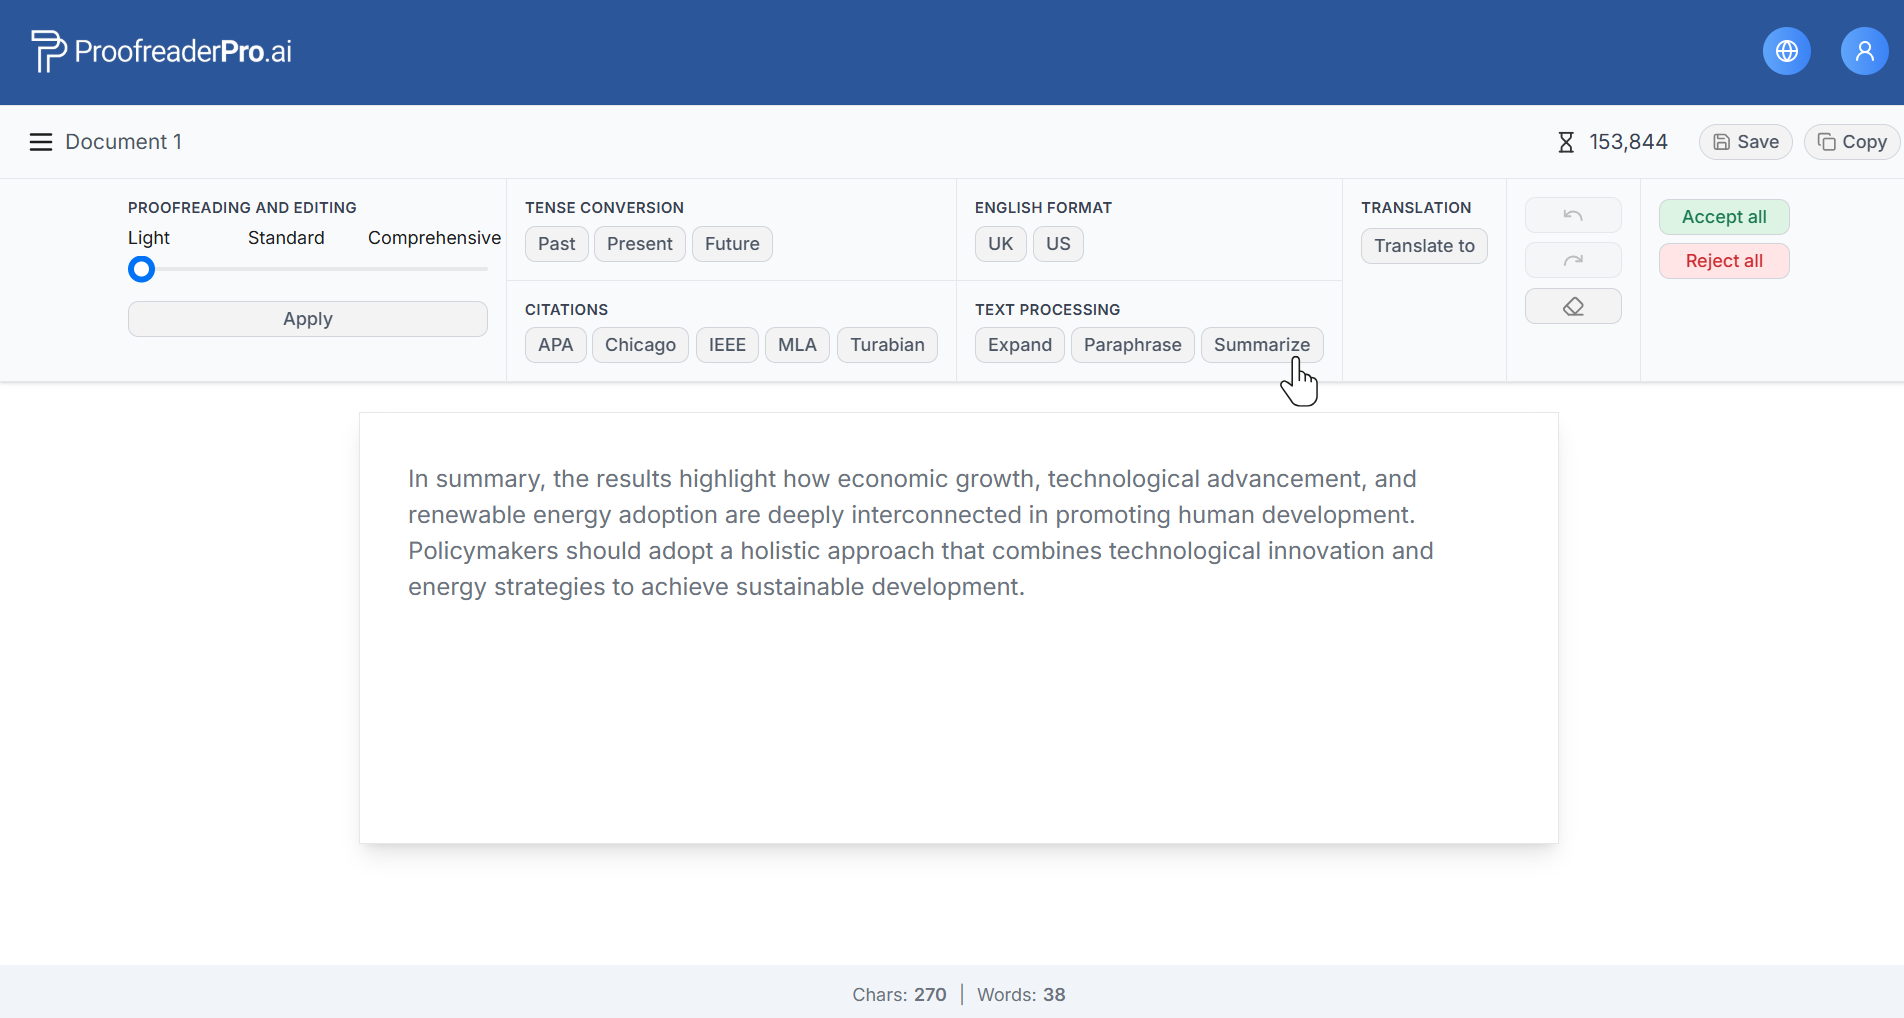
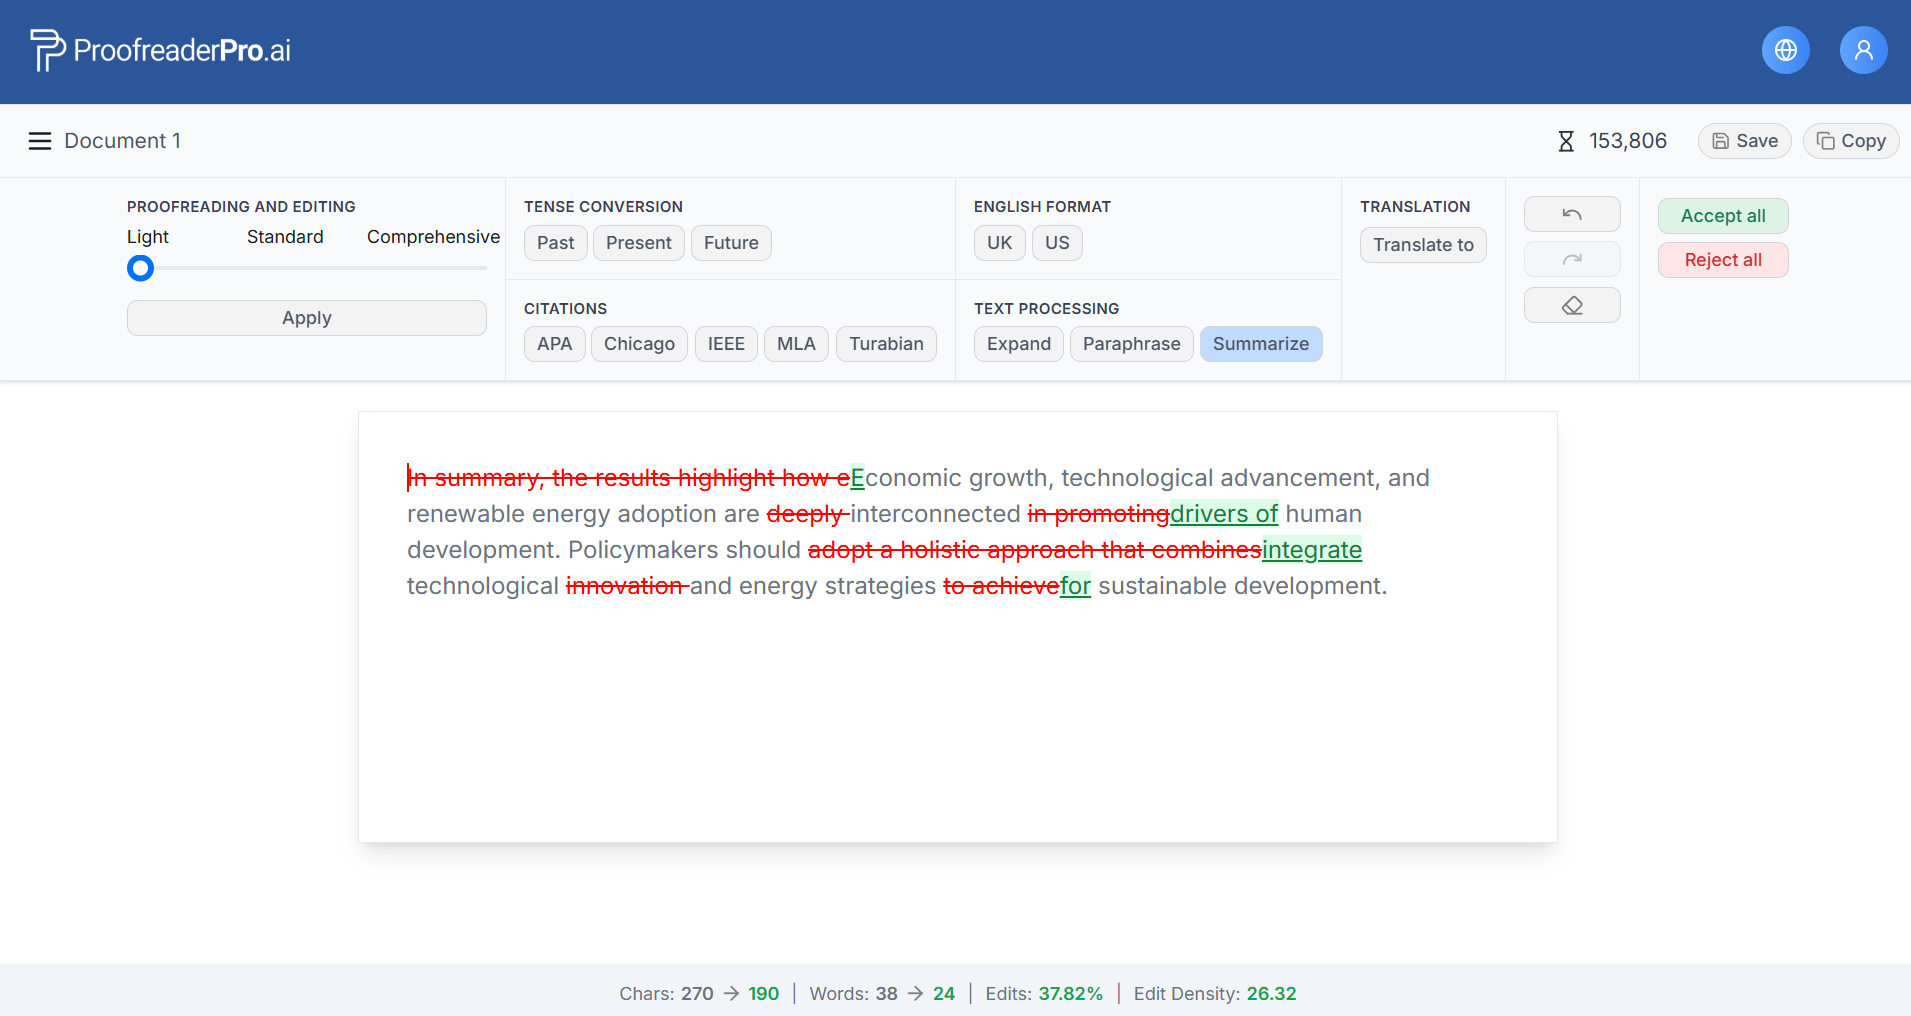
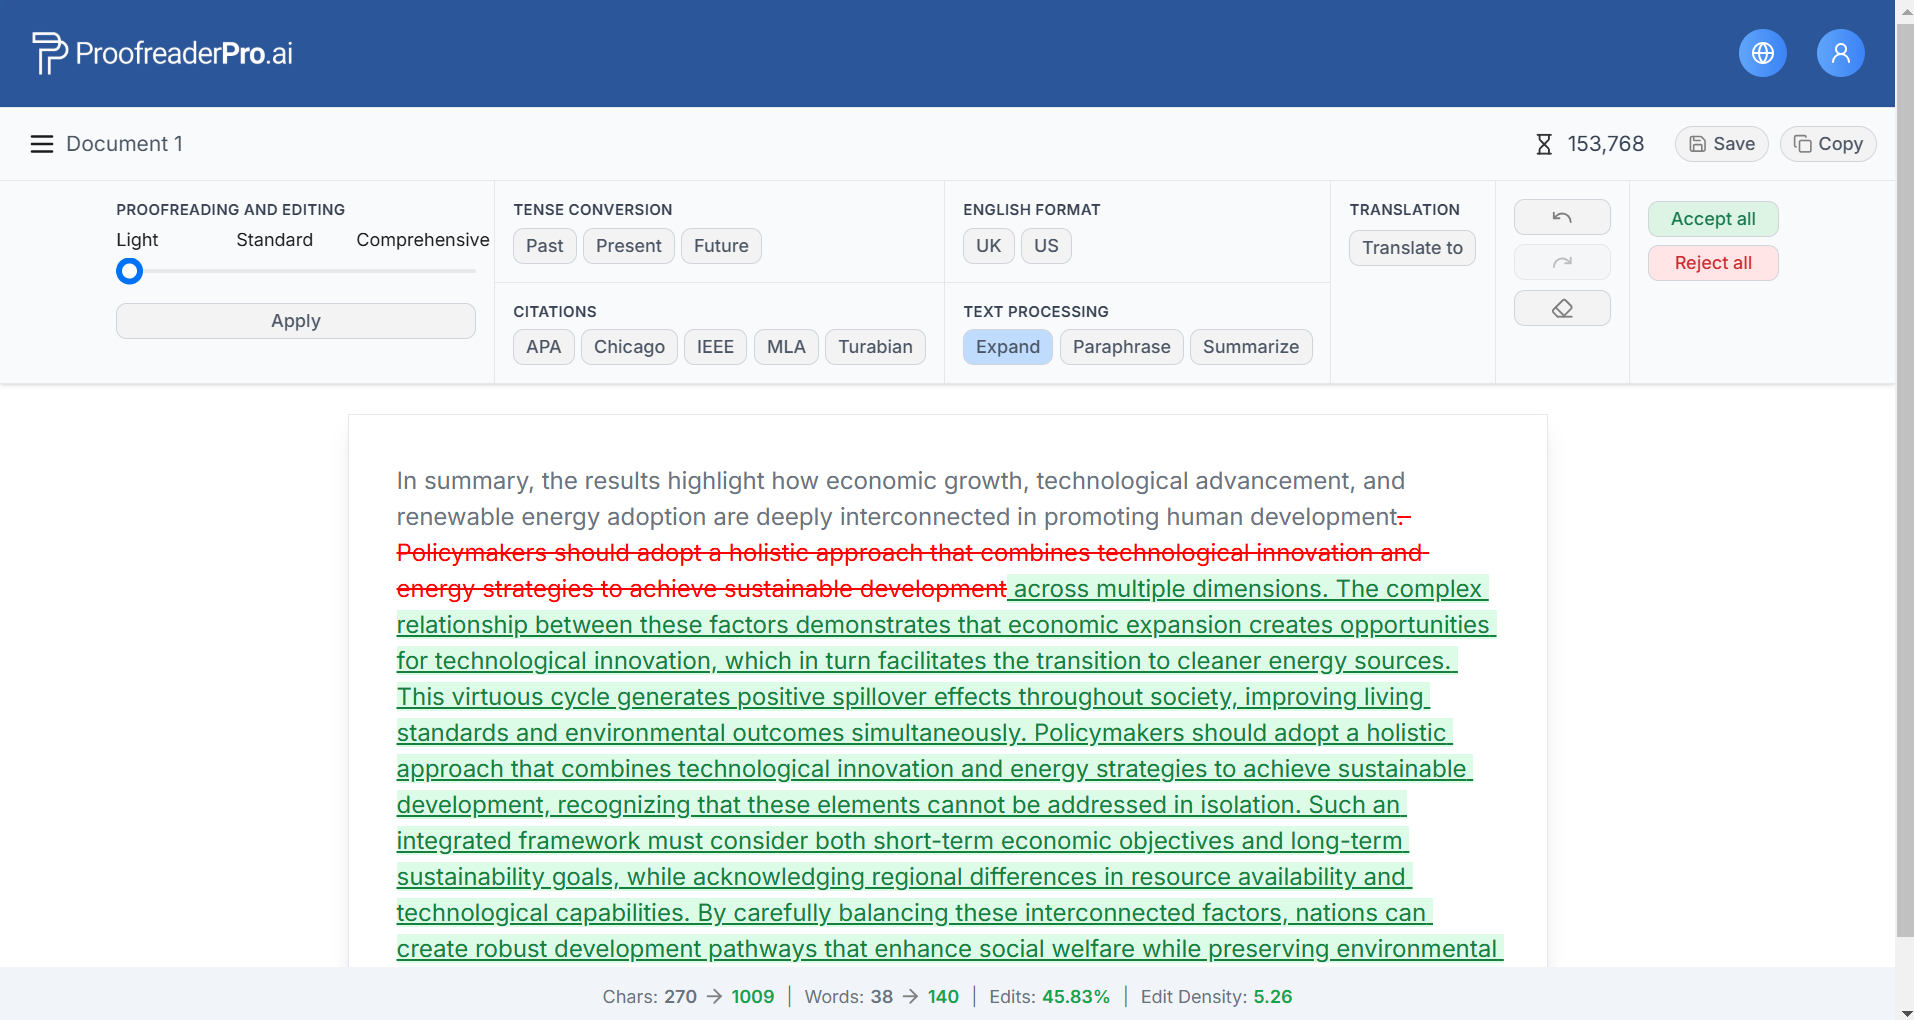
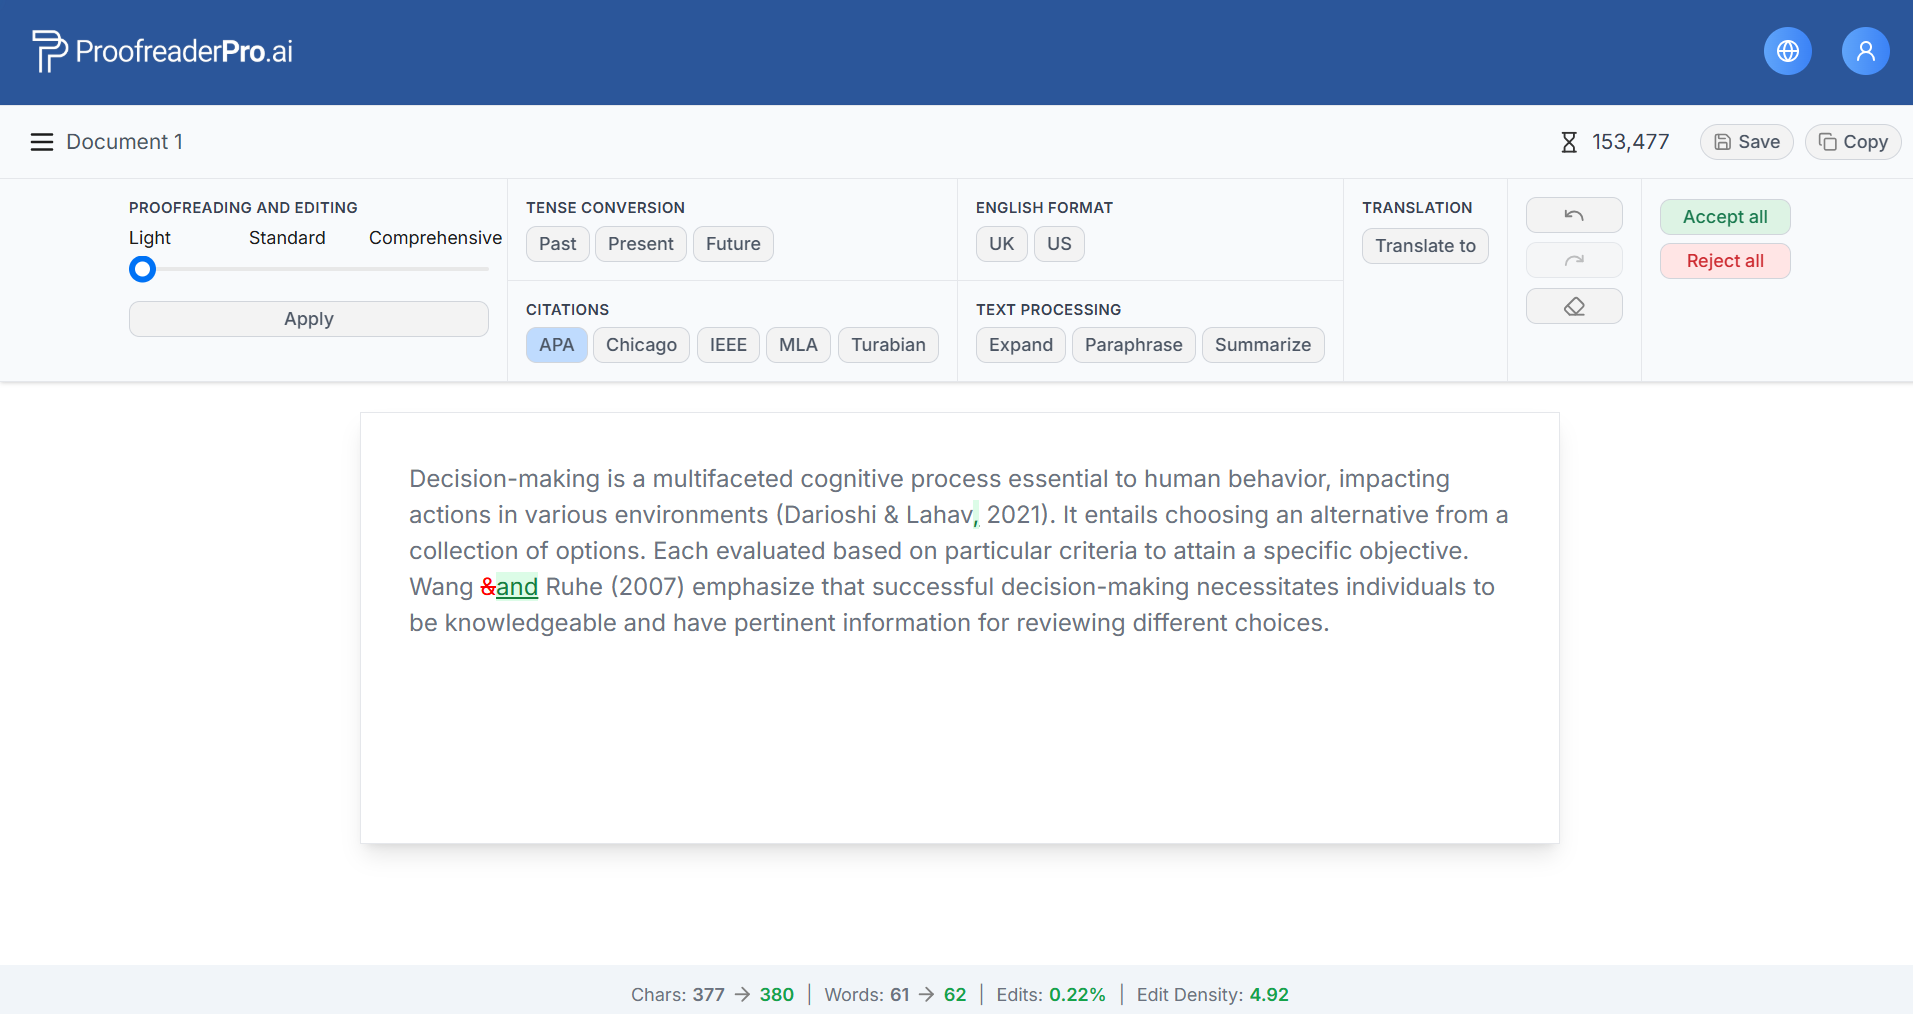
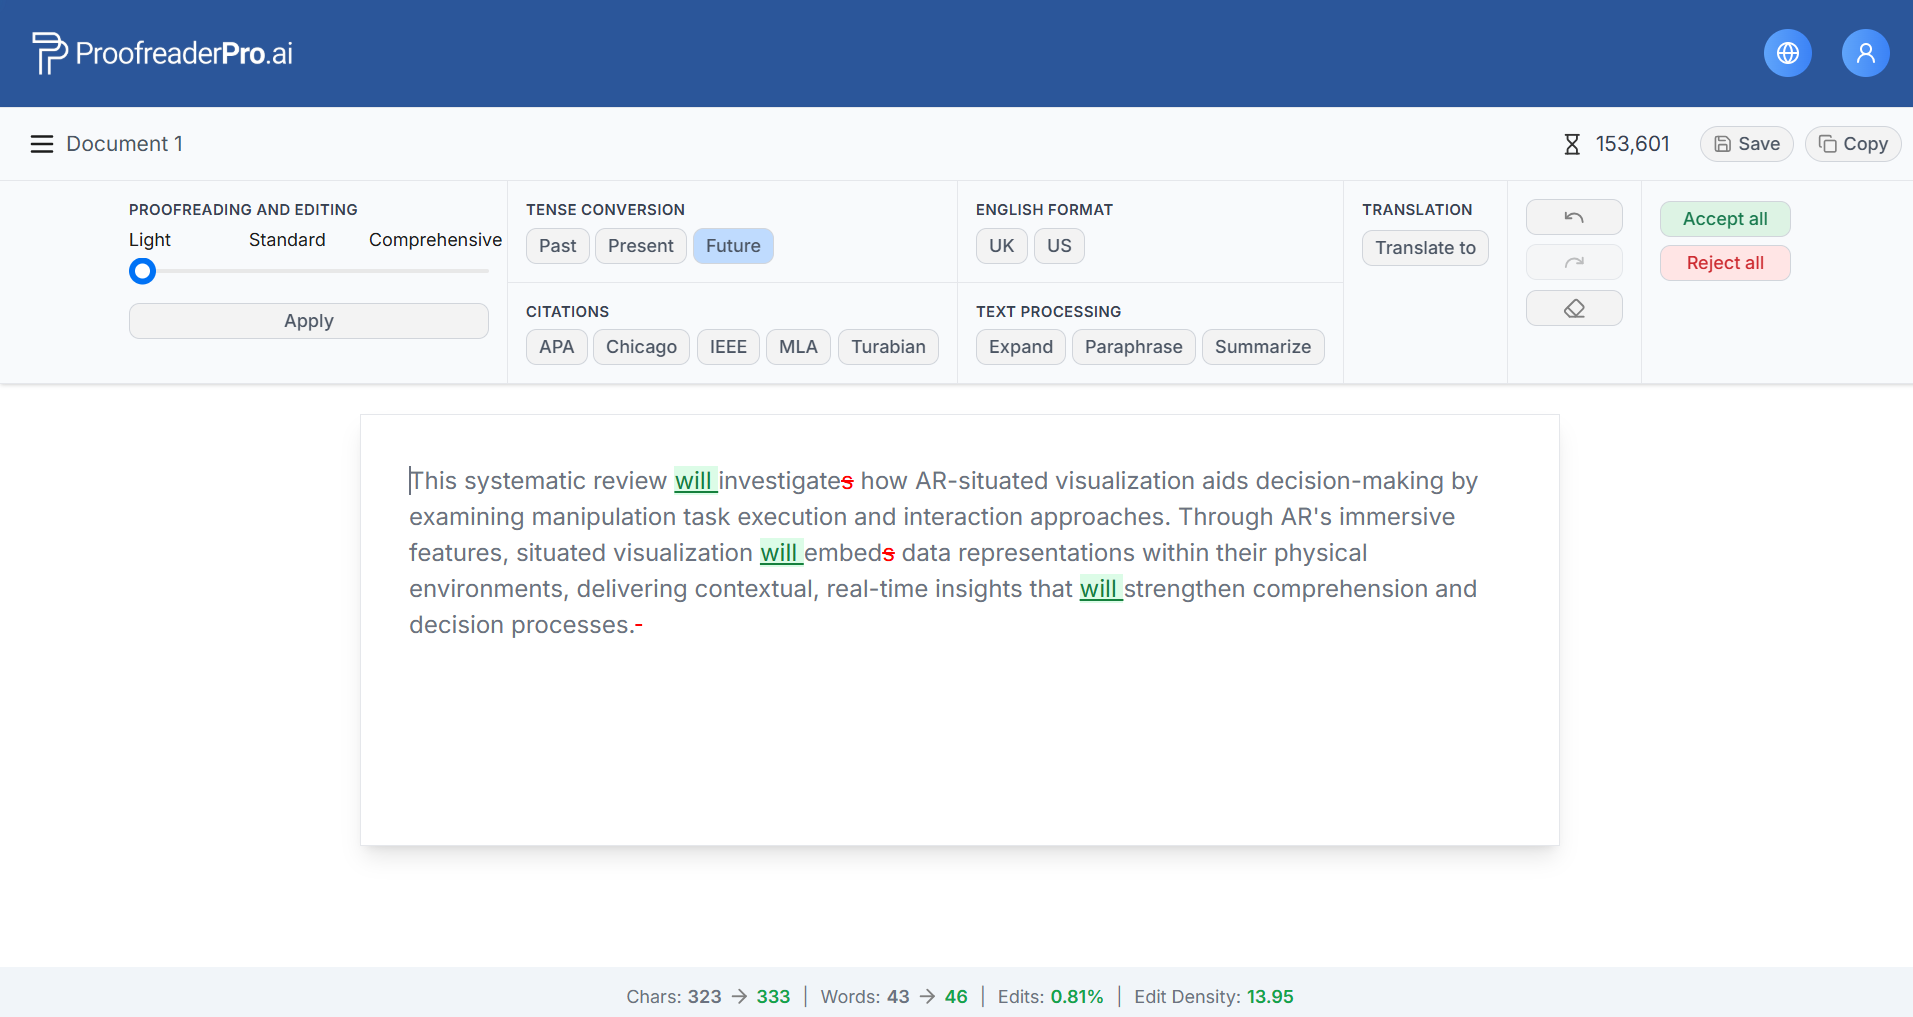
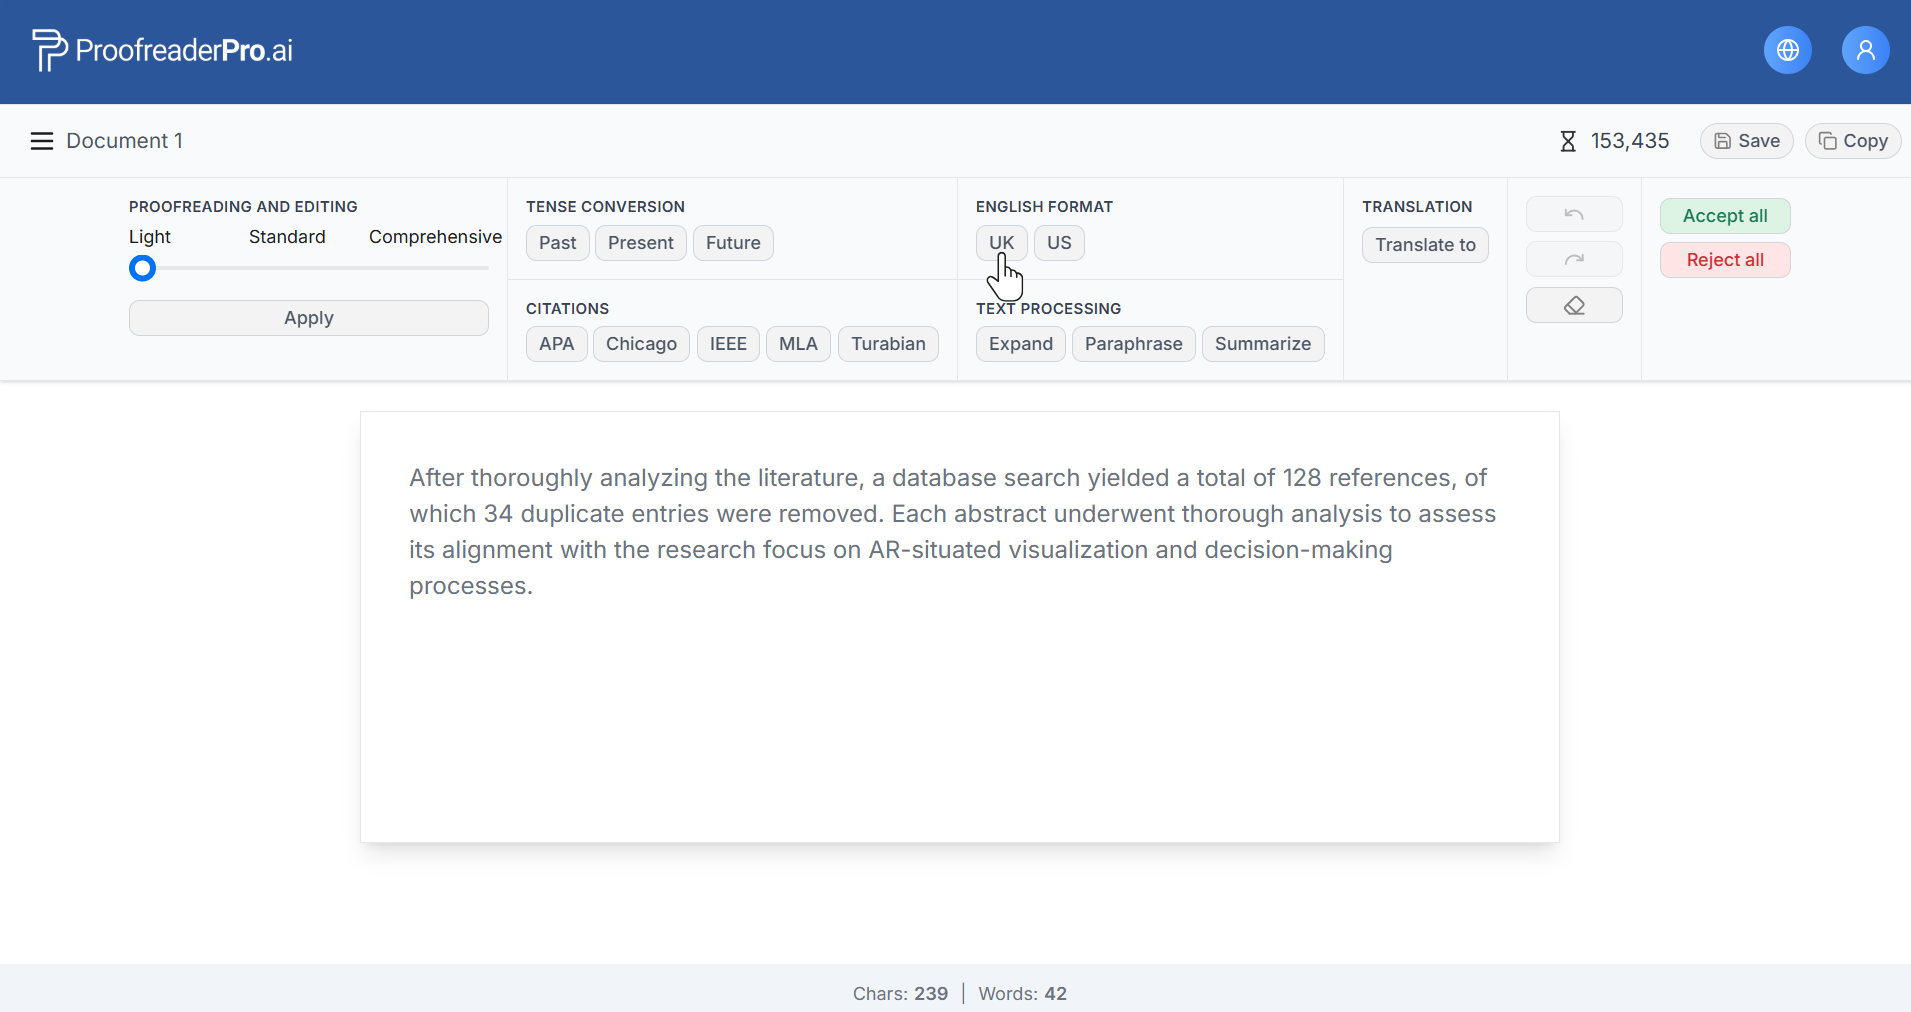
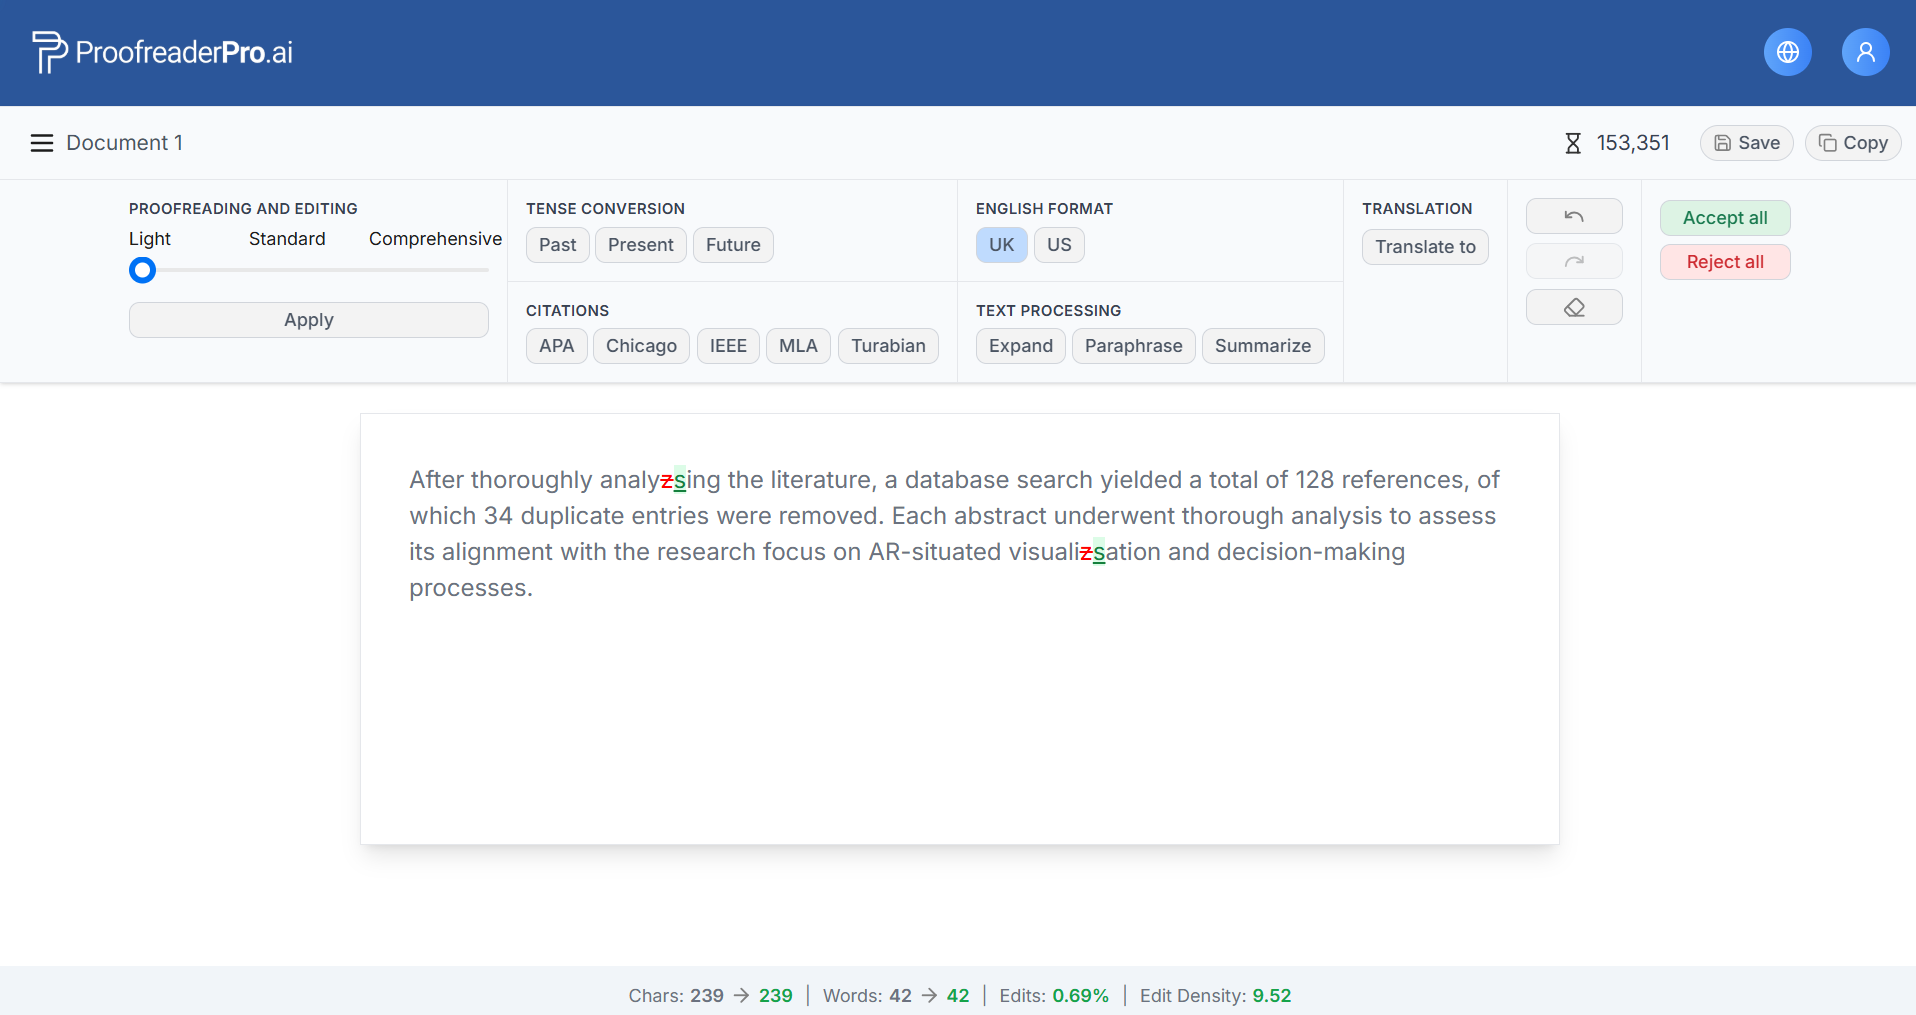
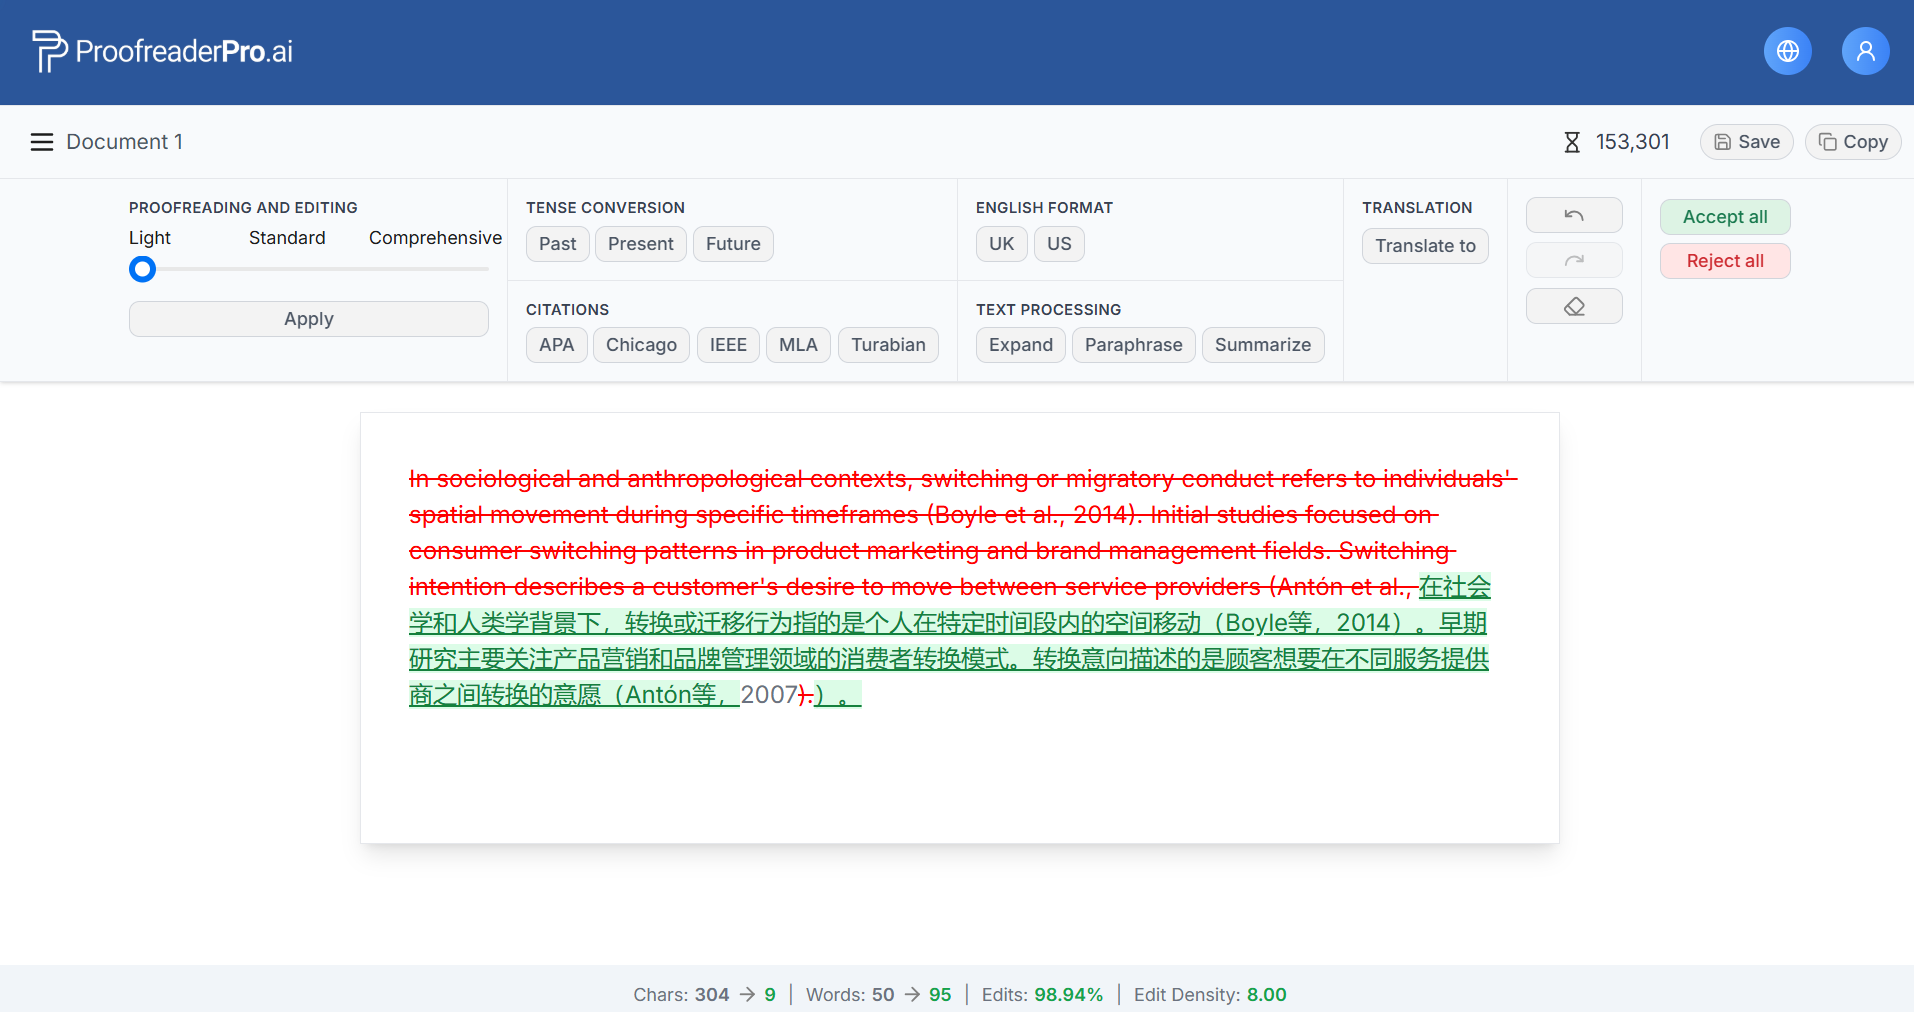
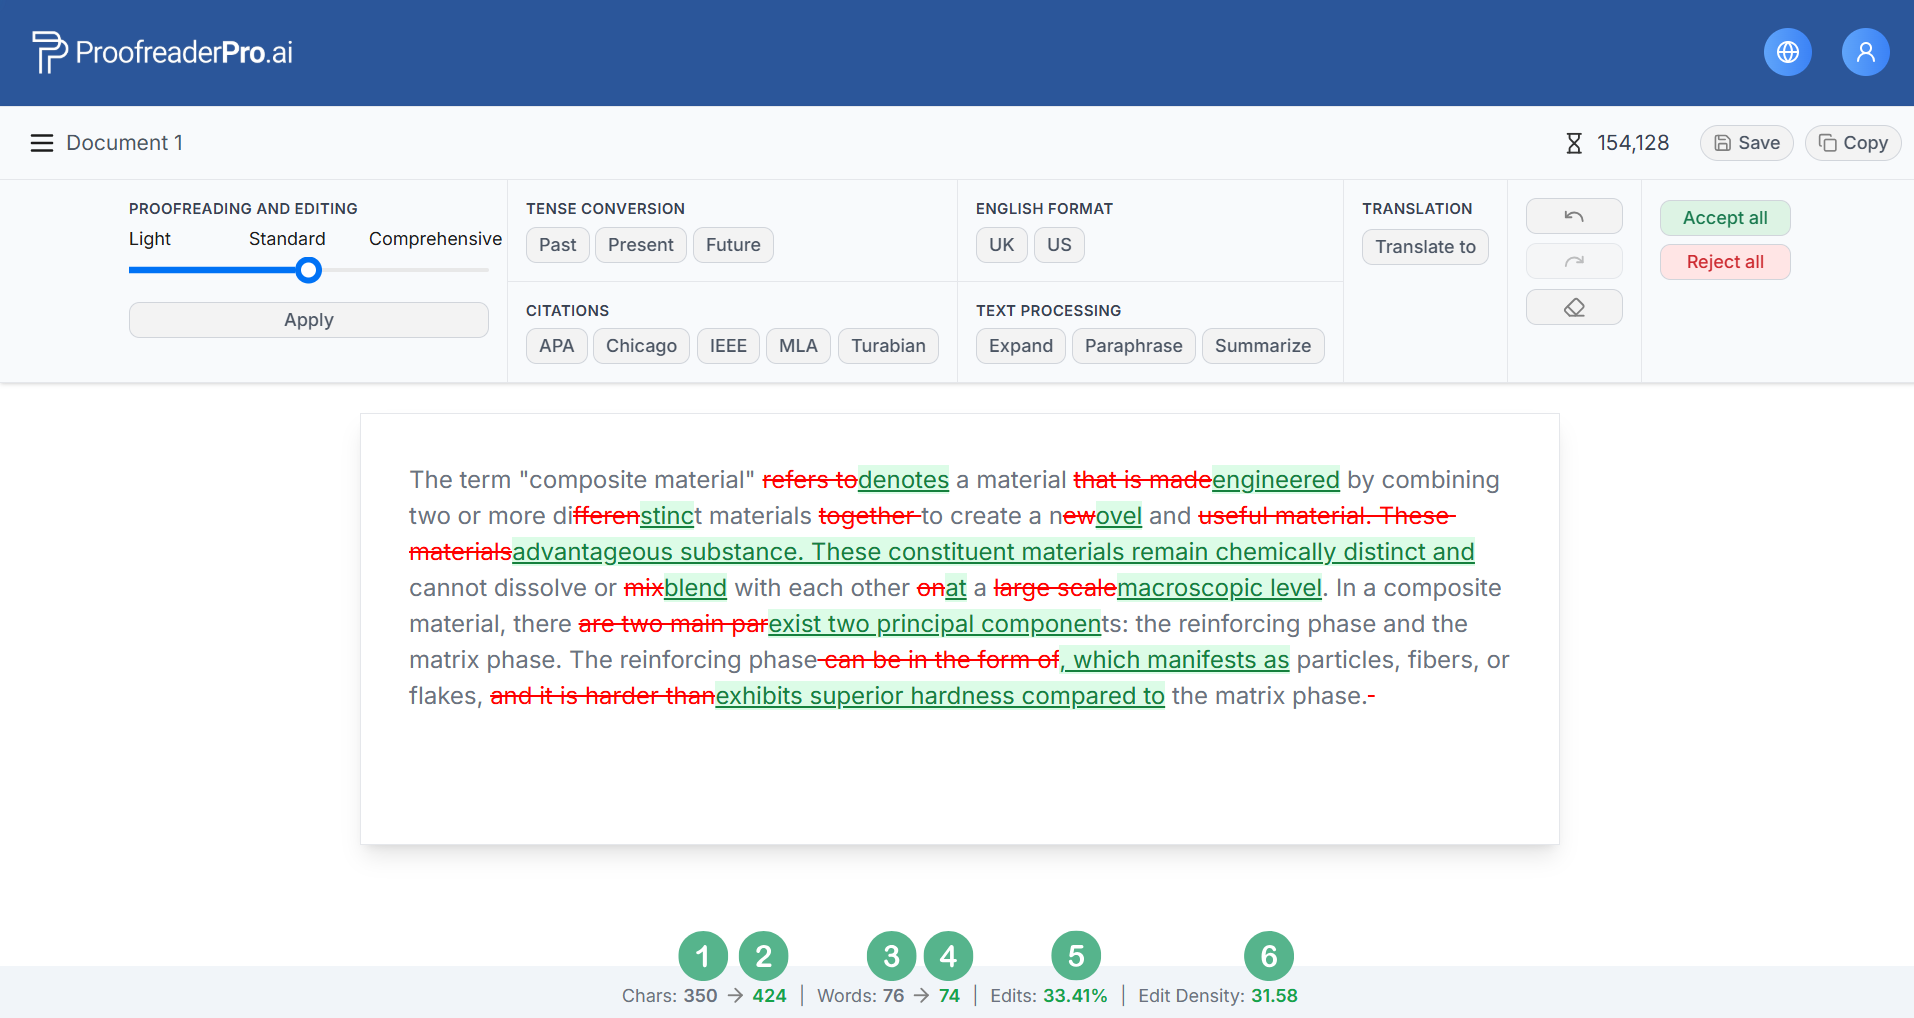
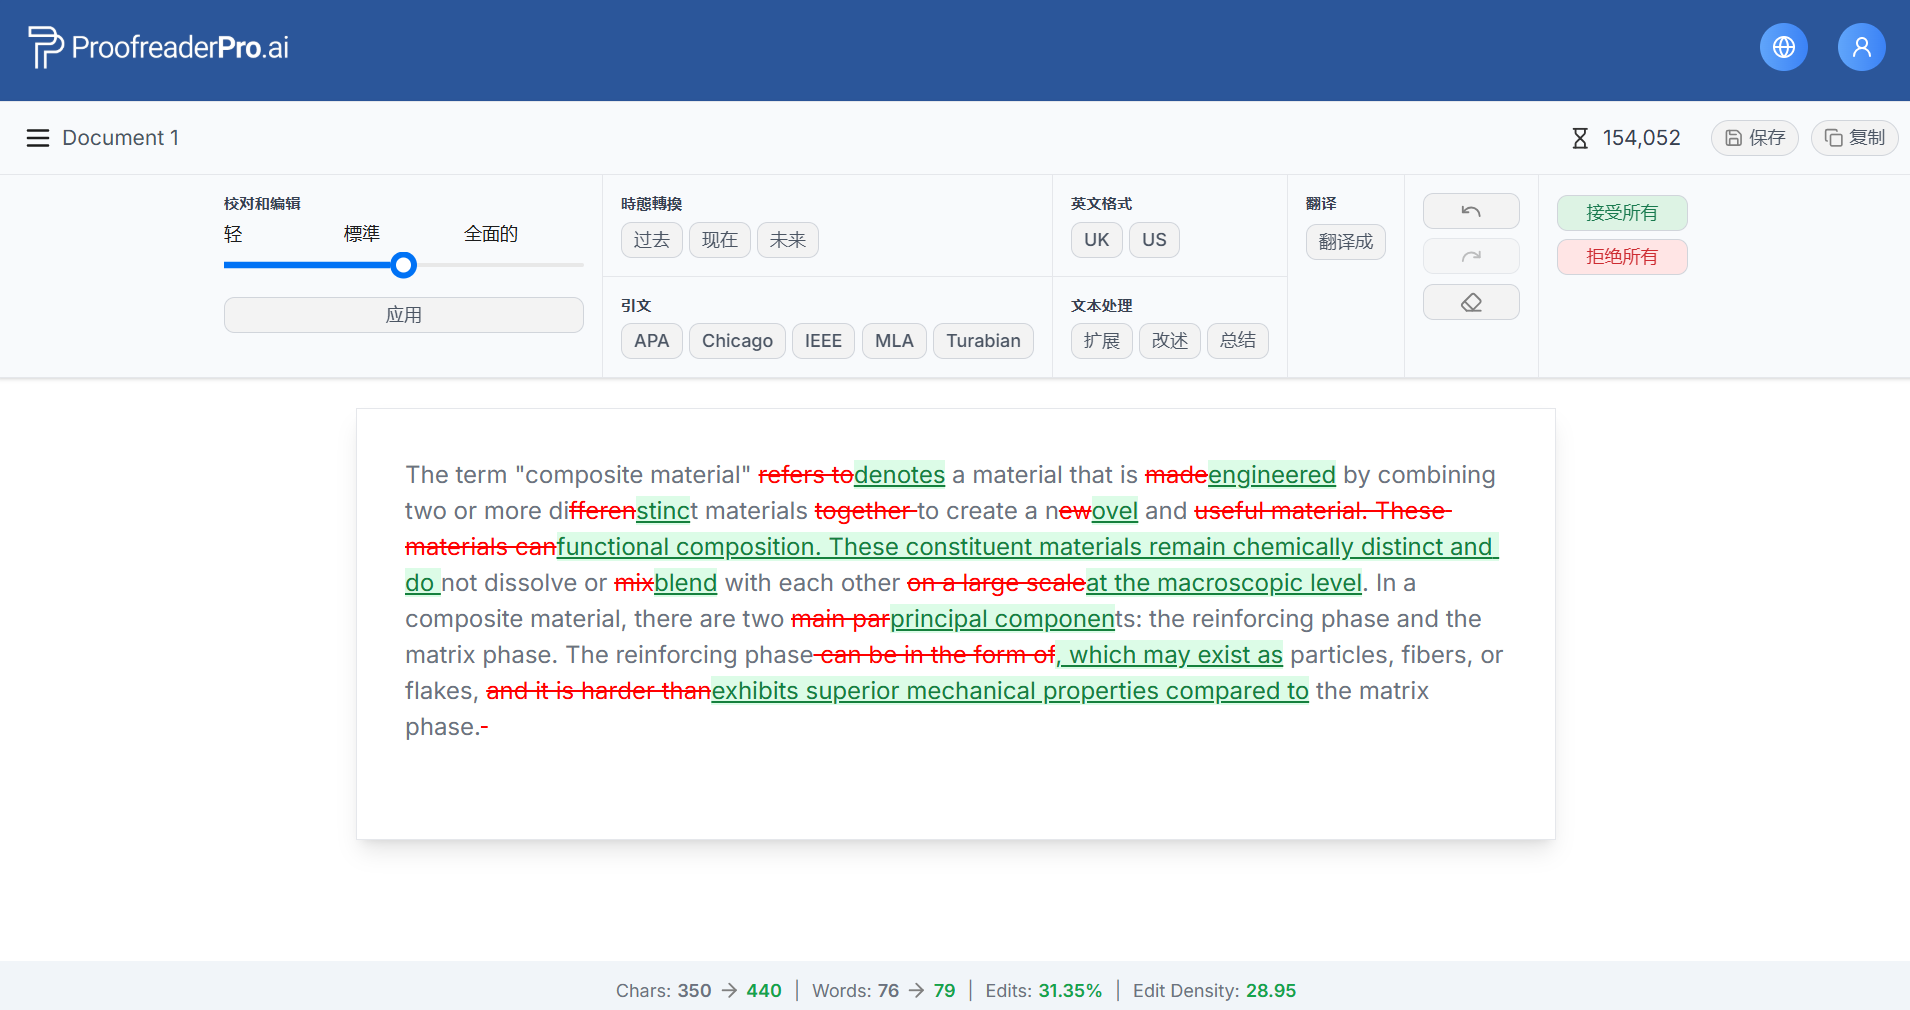
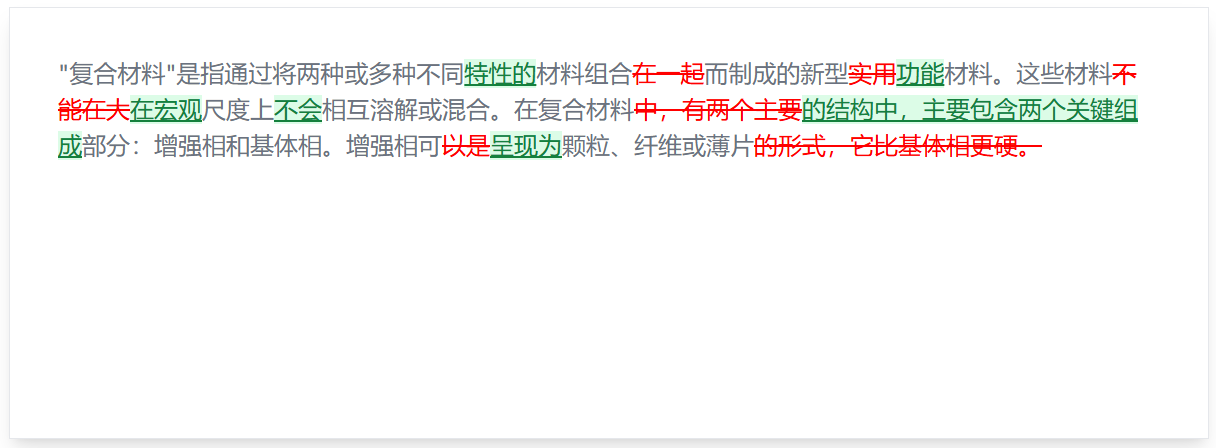
After editing a text, the tracked changes will be displayed, showing all the modifications made to the text.

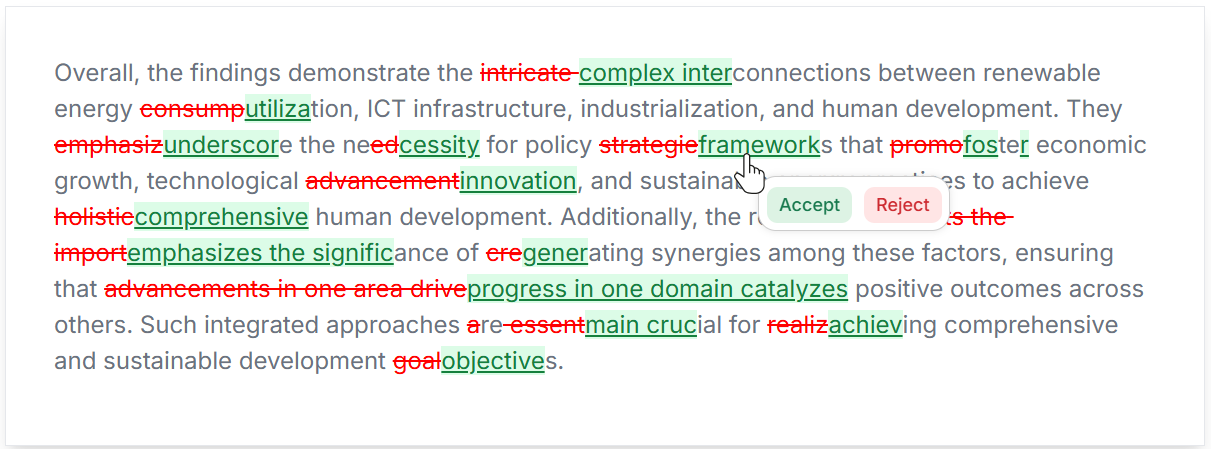
Accepting/Rejecting individual tracked changes:

  • Click directly on an insertion (green underlined text) or deletion (red strikethrough text).
  • The Accept and Reject buttons will pop up, allowing you to accept or reject that specific change.

Proofreading and editing density slider

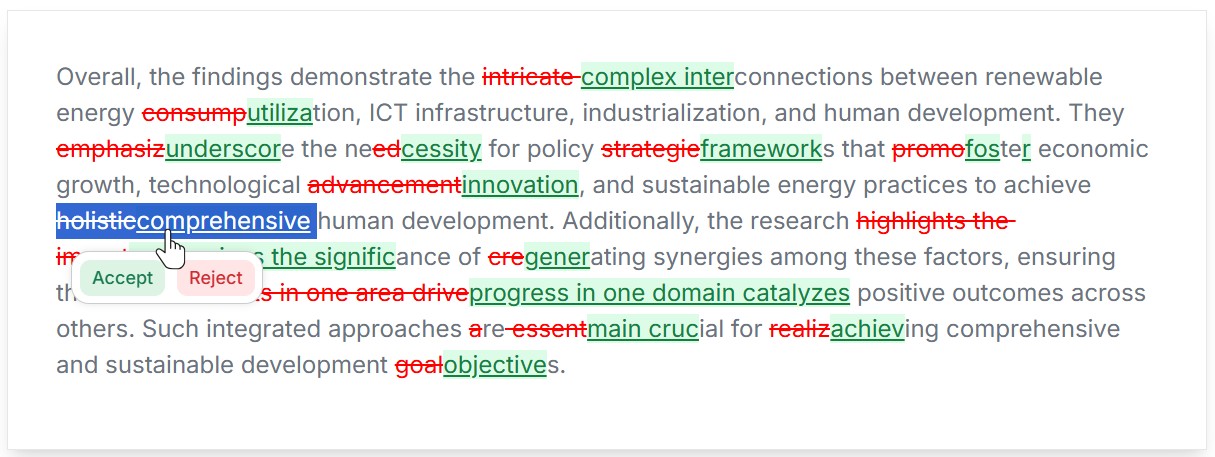
Accepting/Rejecting multiple tracked changes:

  • Highlight multiple tracked changes within the text.
  • Use the Accept and Reject buttons that pop up to accept or reject the highlighted changes all at once.

Academic text translation result

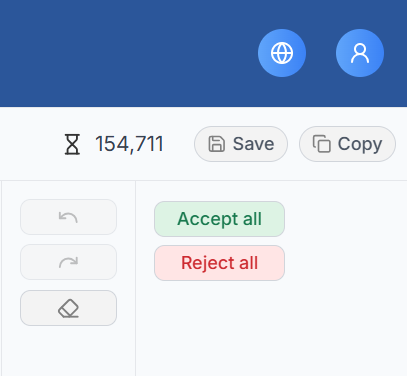
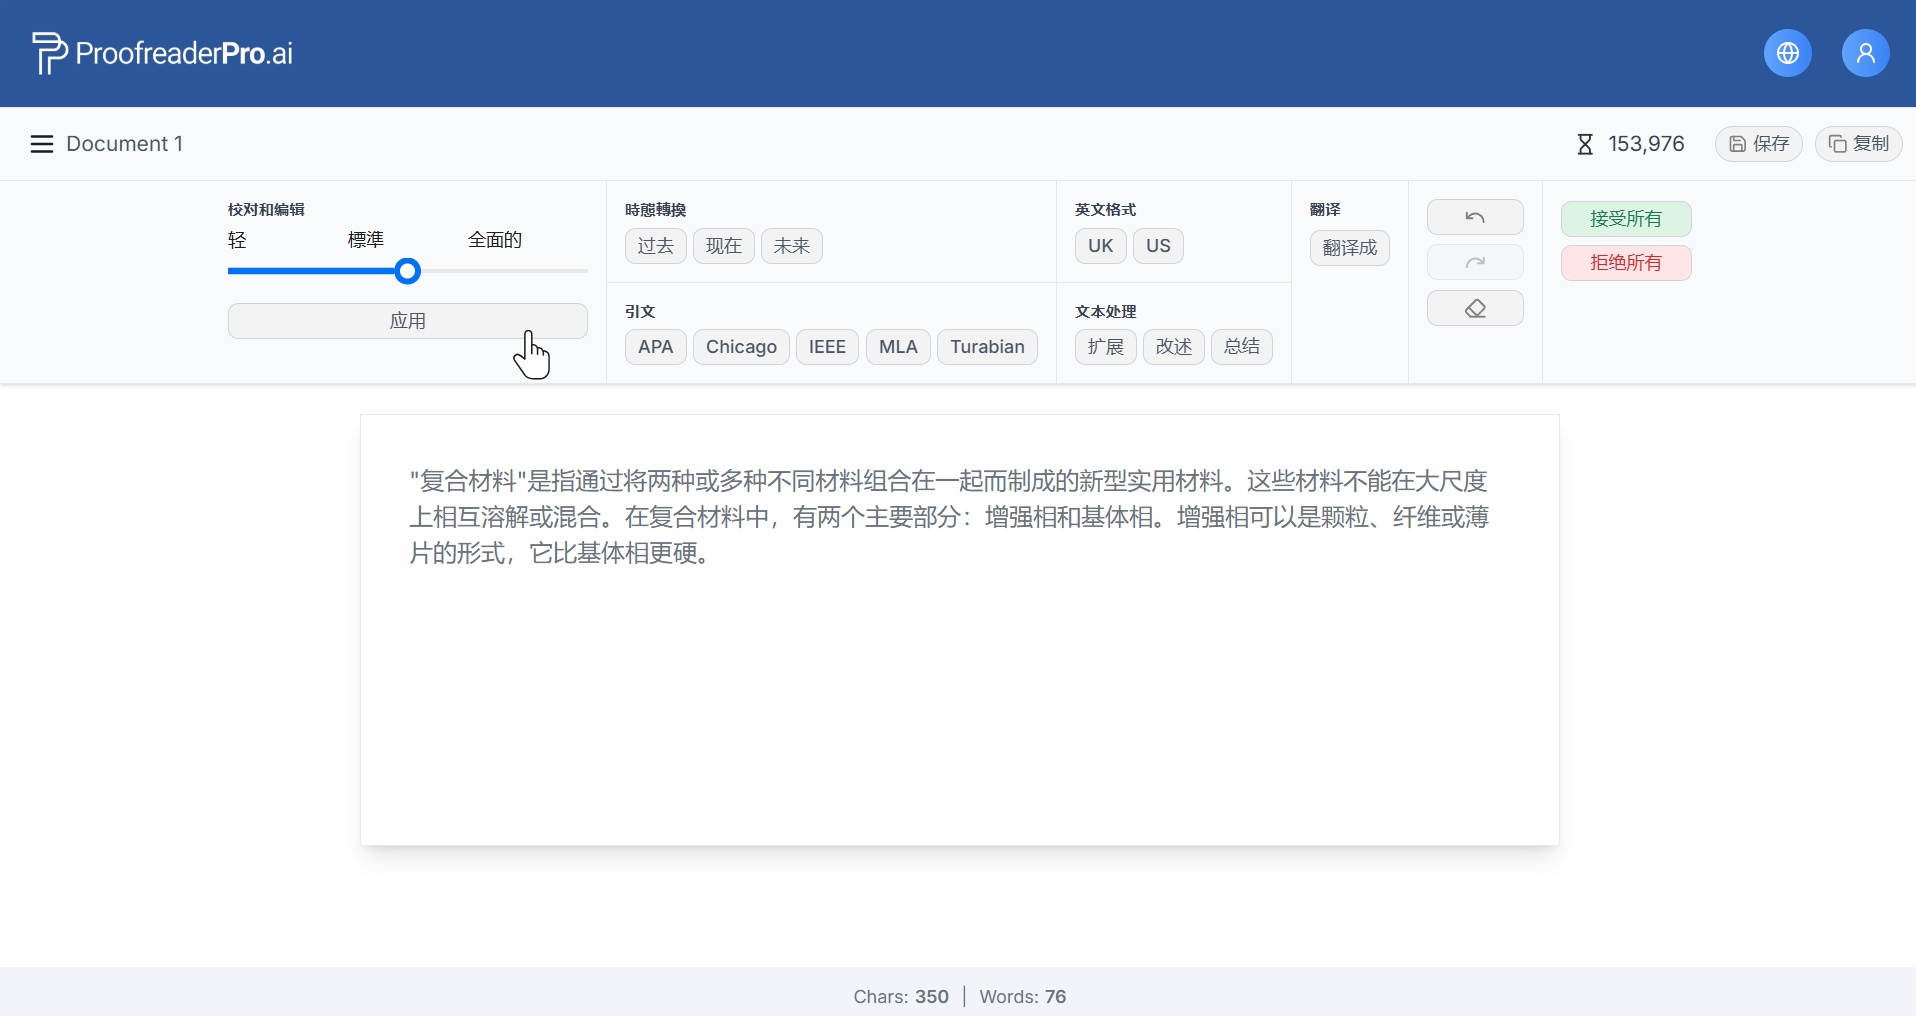
Accepting/Rejecting all tracked changes:

  • Click on the Accept All or Reject All buttons in the top panel to accept or reject all changes made to the text.

Text expansion result showing added content

Exporting tracked changes:

  • Click the Copy button in the top-right corner to copy the text along with the tracked changes.

Undo and redo buttons for editing

  • Paste the copied text and tracked changes into Microsoft Word for further processing if needed.

Language detection and processing settings

Edit Metrics

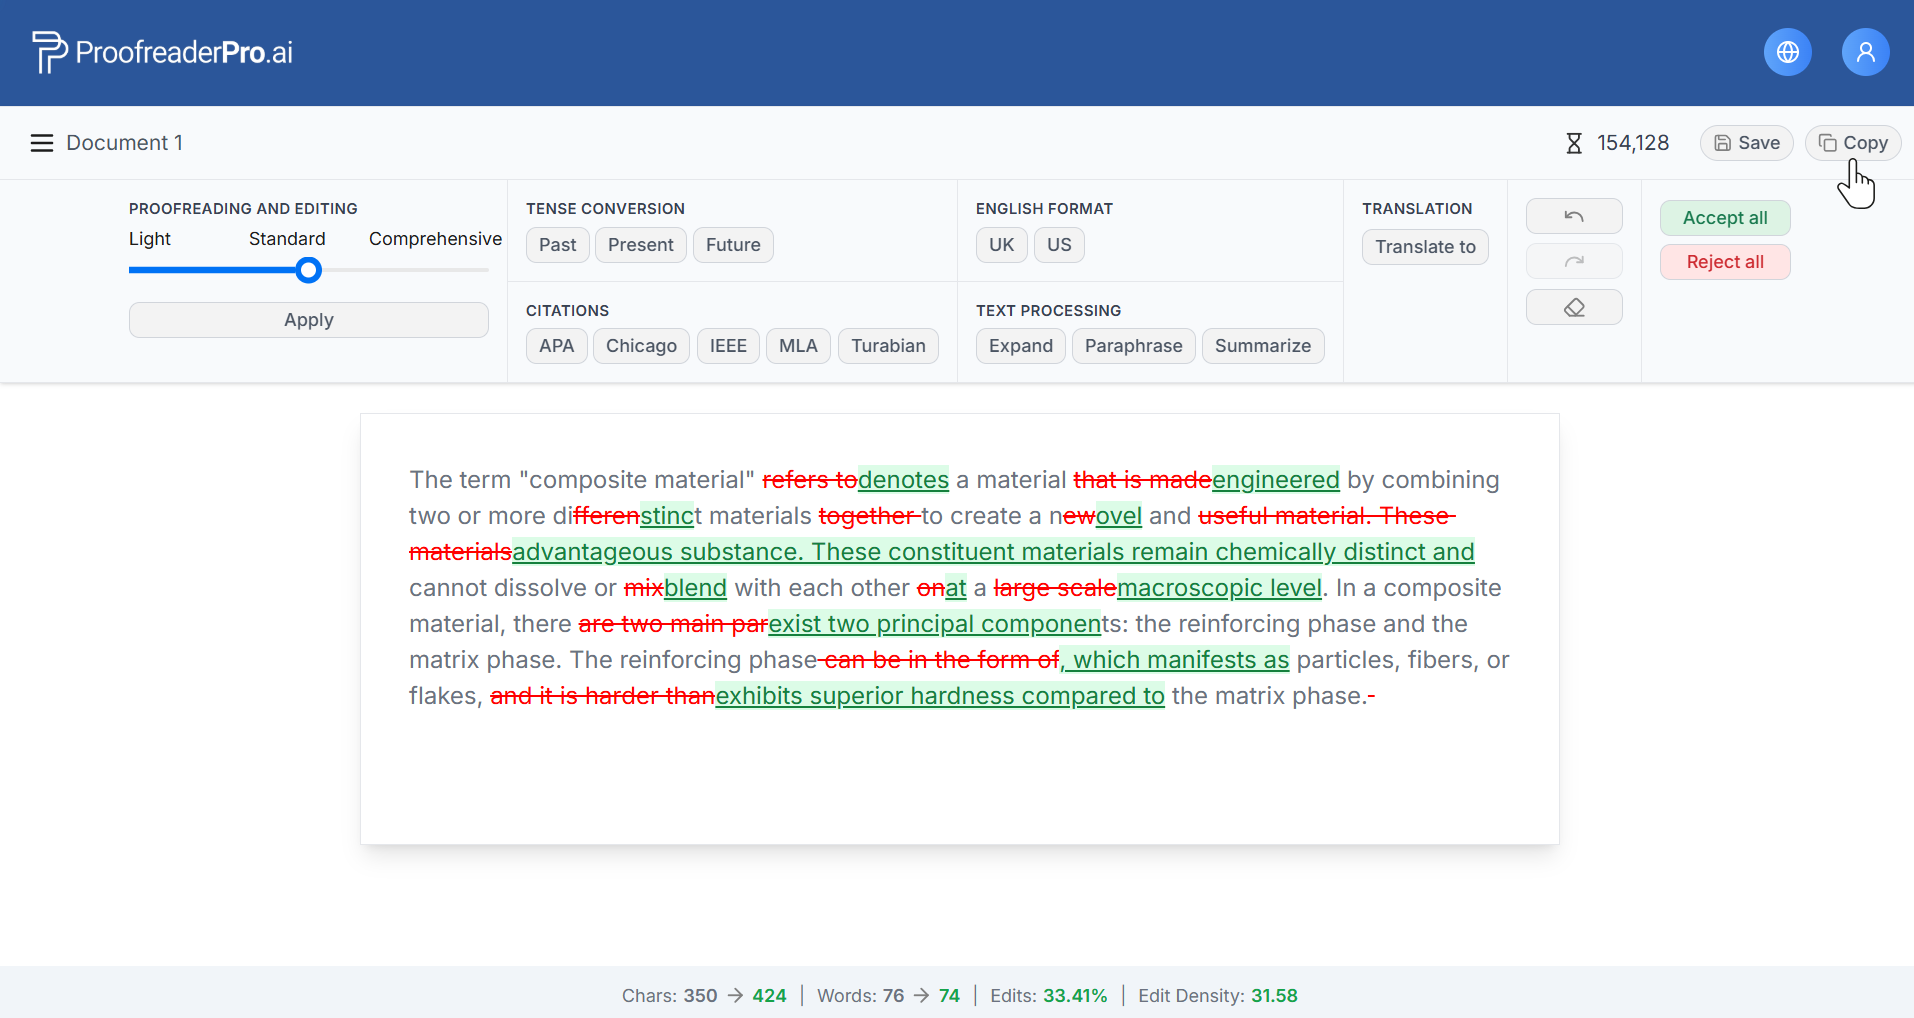
The Edit Metrics Panel provides valuable insights into the changes made during the editing process. The panel displays the following metrics:

  1. Original Char Count: This shows the number of characters in the text before edits.
  2. Edited Char Count: This shows the number of characters in the text after edits.
  3. Original Word Count: This shows the total number of words in the original text before edits.
  4. Edited Word Count: This shows the total number of words in the text after edits.
  5. Edit Percentage: This shows the proportion of the text that has been modified. It is calculated as the percentage of words changed relative to the total word count of the original text.
  6. Edit Density: This shows the number of edits made per 100 words in the document. It helps to quantify the extent of changes, with a higher density indicating more edits per unit of text.

Accept all and reject all buttons for tracked changes


MULTILINGUAL SUPPORT

Changing interface language

  1. ProofreaderPro.ai supports a wide range of languages for its user interface to cater to international users. To change the interface language, simply click on the globe icon in the top right corner and select the language desired.

Editor with comprehensive editing appliedTranslation language selection dropdown

  1. The entire user interface will be in the selected language.

AI proofreading in progress indicator

Text processing for non-English text

  1. Copy and paste the text in your desired language into the text box.
  2. Select the text processing task you want, such as proofreading, paraphrasing, or any other available option.

Tracked changes review panel

  1. The text will be processed in the original language you have pasted.

Multi-document workspace view


ACCOUNT MANAGEMENT

Accessing Account page

To access the Account page, simply go to the main menu in the top right corner, and select Account.

Document export options and formats

Contacting customer support

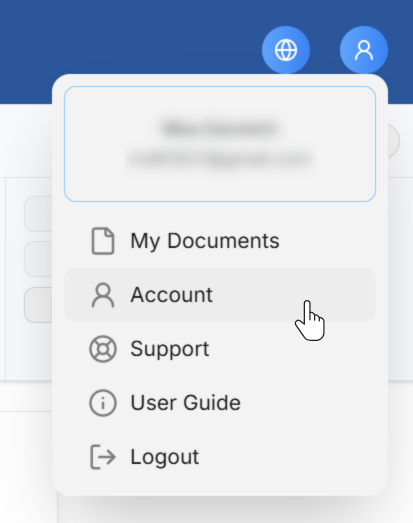
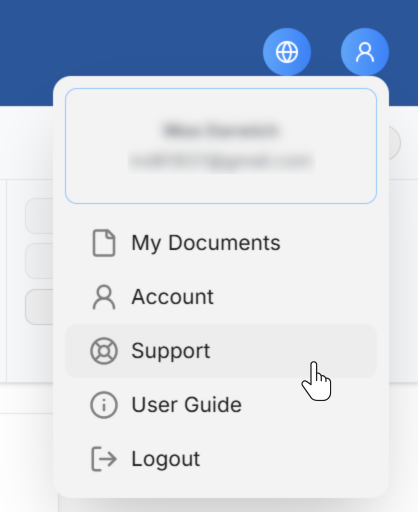
To contact customer support, simply go to the main menu in the top right corner, and select Support.

Pro plan upgrade options and pricing

Proofreader Pro AI
قم بتحسين بحثك باستخدام ProofreaderPro.ai، أفضل برنامج تصحيح يعمل بتقنية الذكاء الاصطناعي في العالم، المصمم خصيصًا للنصوص الأكاديمية.
ProofreaderProAI, A0108 Greenleaf Avenue, Staten Island, 10310 New York
© 2026 ProofreaderPro.ai. AI-assisted academic editor and proofreader. Made by researchers, for researchers.